Easy.Jobs is an all-in-one hiring solution to create a new job post, manage ongoing job campaigns, hire the right talent, and many more. Using this stunning platform, you can easily create a new job post and streamline your hiring process.
How to Create A New Job Post in Easy.Jobs? #
Check out the guideline below to learn how to create a new Job Post inside Easy.Jobs:
Step 1: Log in to your easy.jobs account and open your Dashboard.
Step 2: Click on ‘Jobs’ from the left sidebar and it will take you to this view below.
Step 3: To create a new job, click on the ‘Create A Job Post’ button from the top right corner.

Step 4: You can either create a new job post using ready job description templates or by adding them manually. If you want to create a job post using ready templates, then click on the ‘Select A Template’ button and choose your preferred one. There is also a Default Job Description Template, which you can use to create any generalized job post. Check out the complete procedure from here.
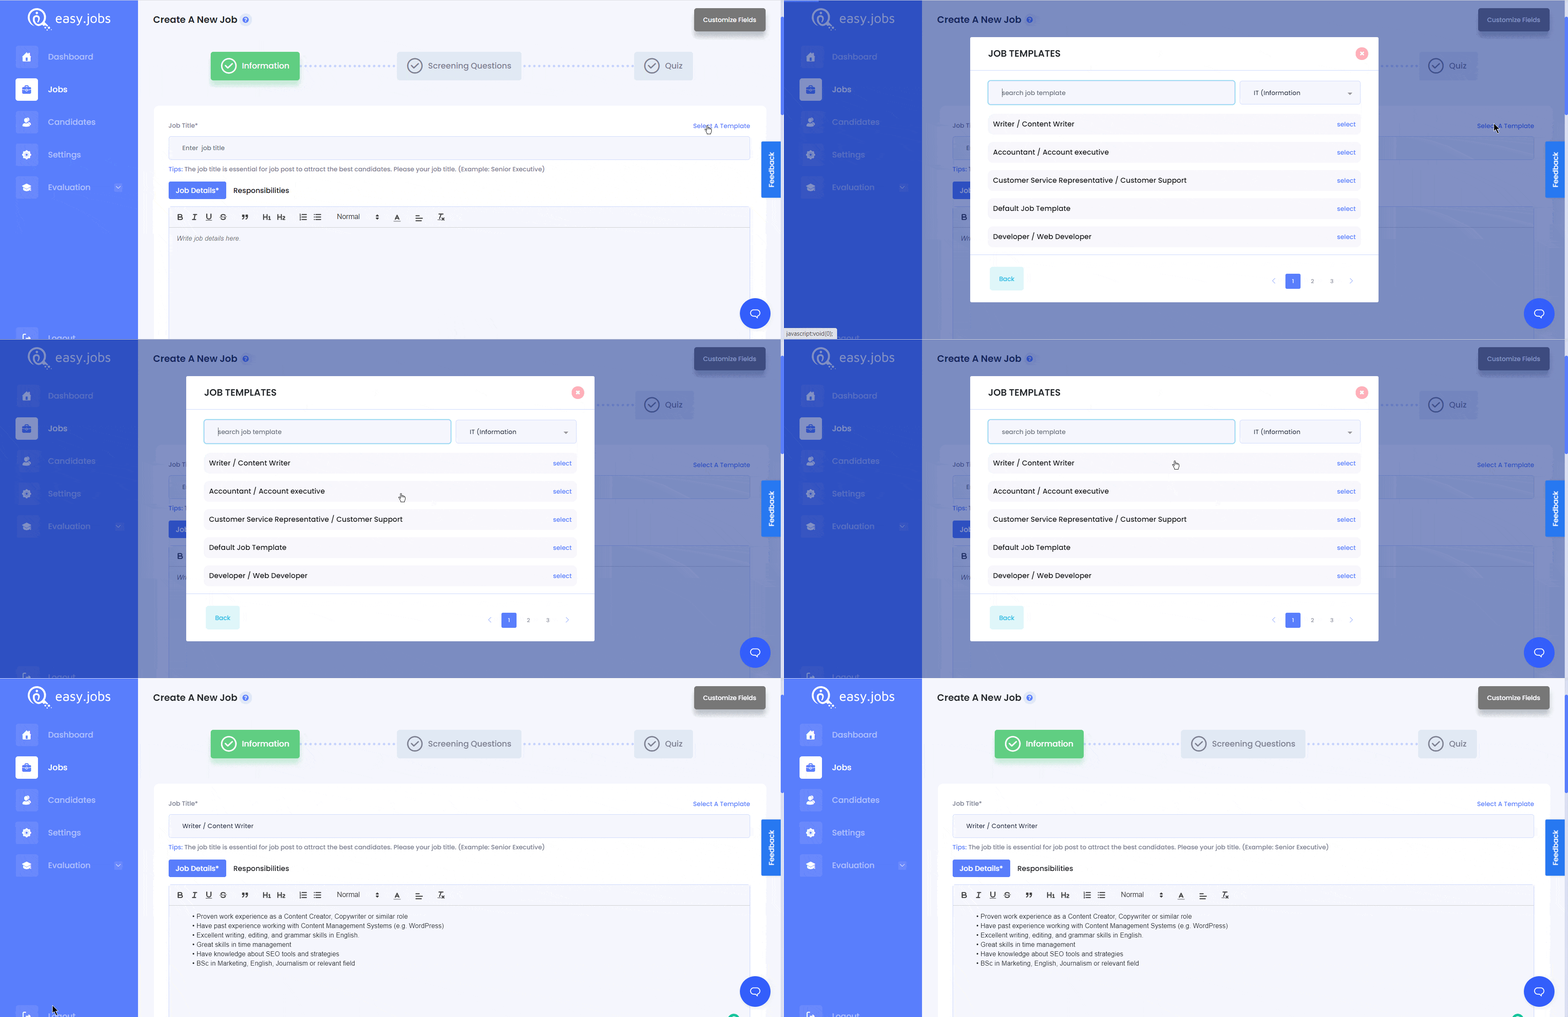
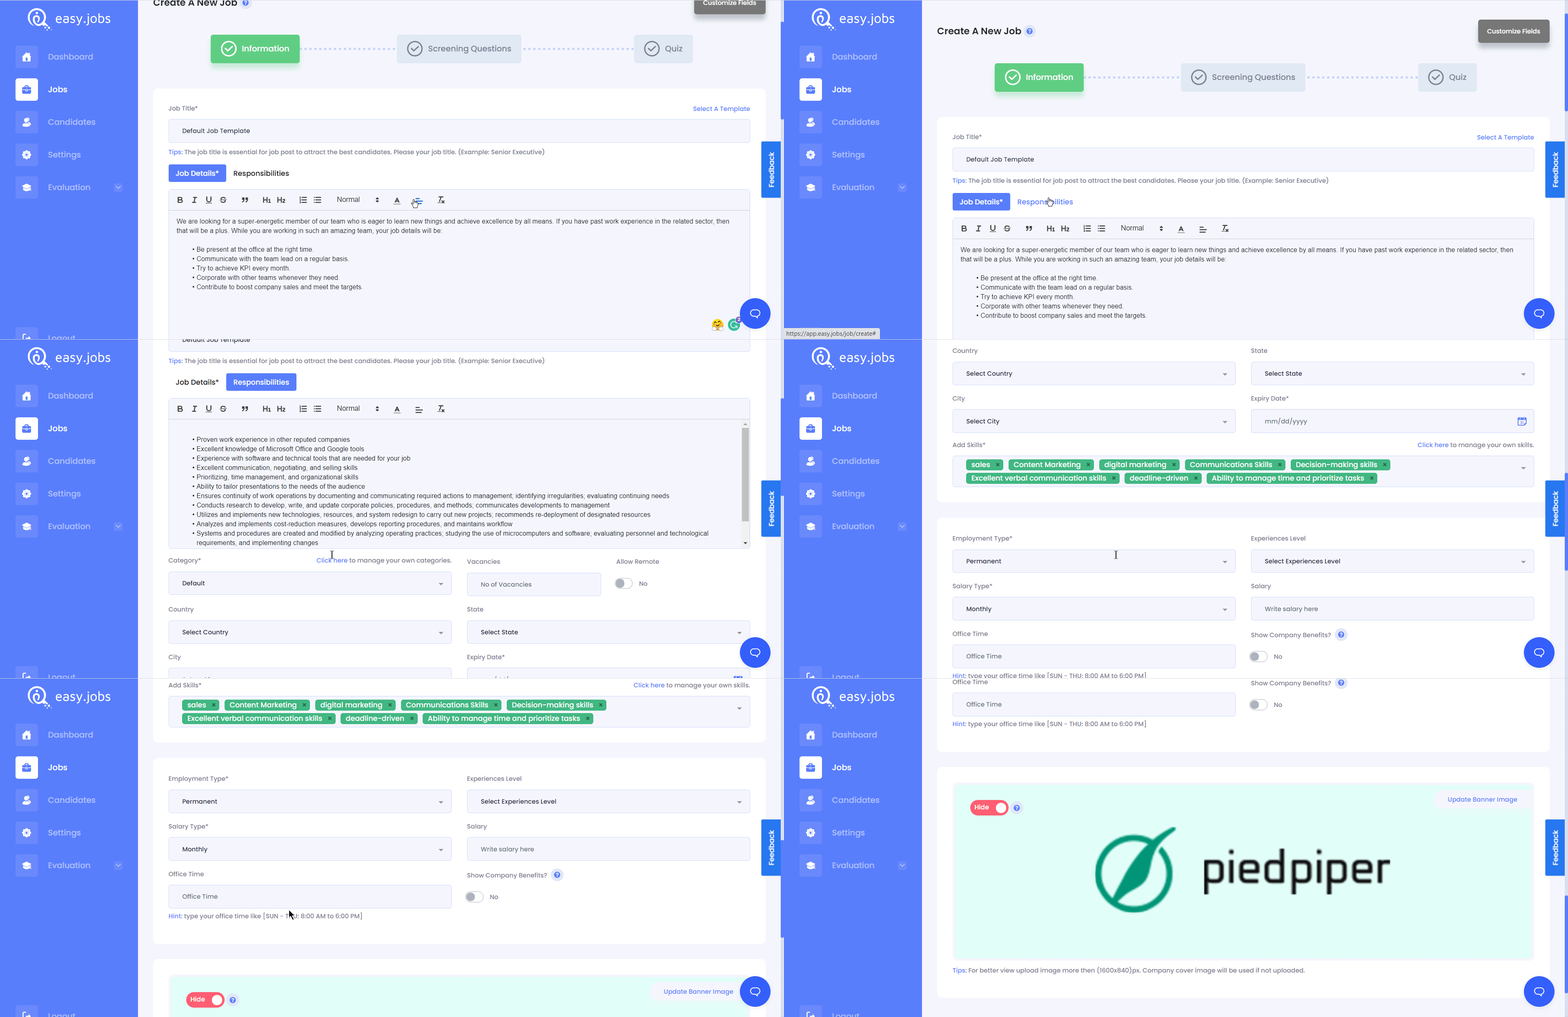
If you want to create a new job post manually then fill out job information such as job Title, Job Details, Category, and all the necessary information that you want to show on the job post in the given fields. Don’t forget to fill up all the required fields. Besides this, you can toggle to the right to showcase company benefits on your job post from ‘Show Company Benefit’ section.
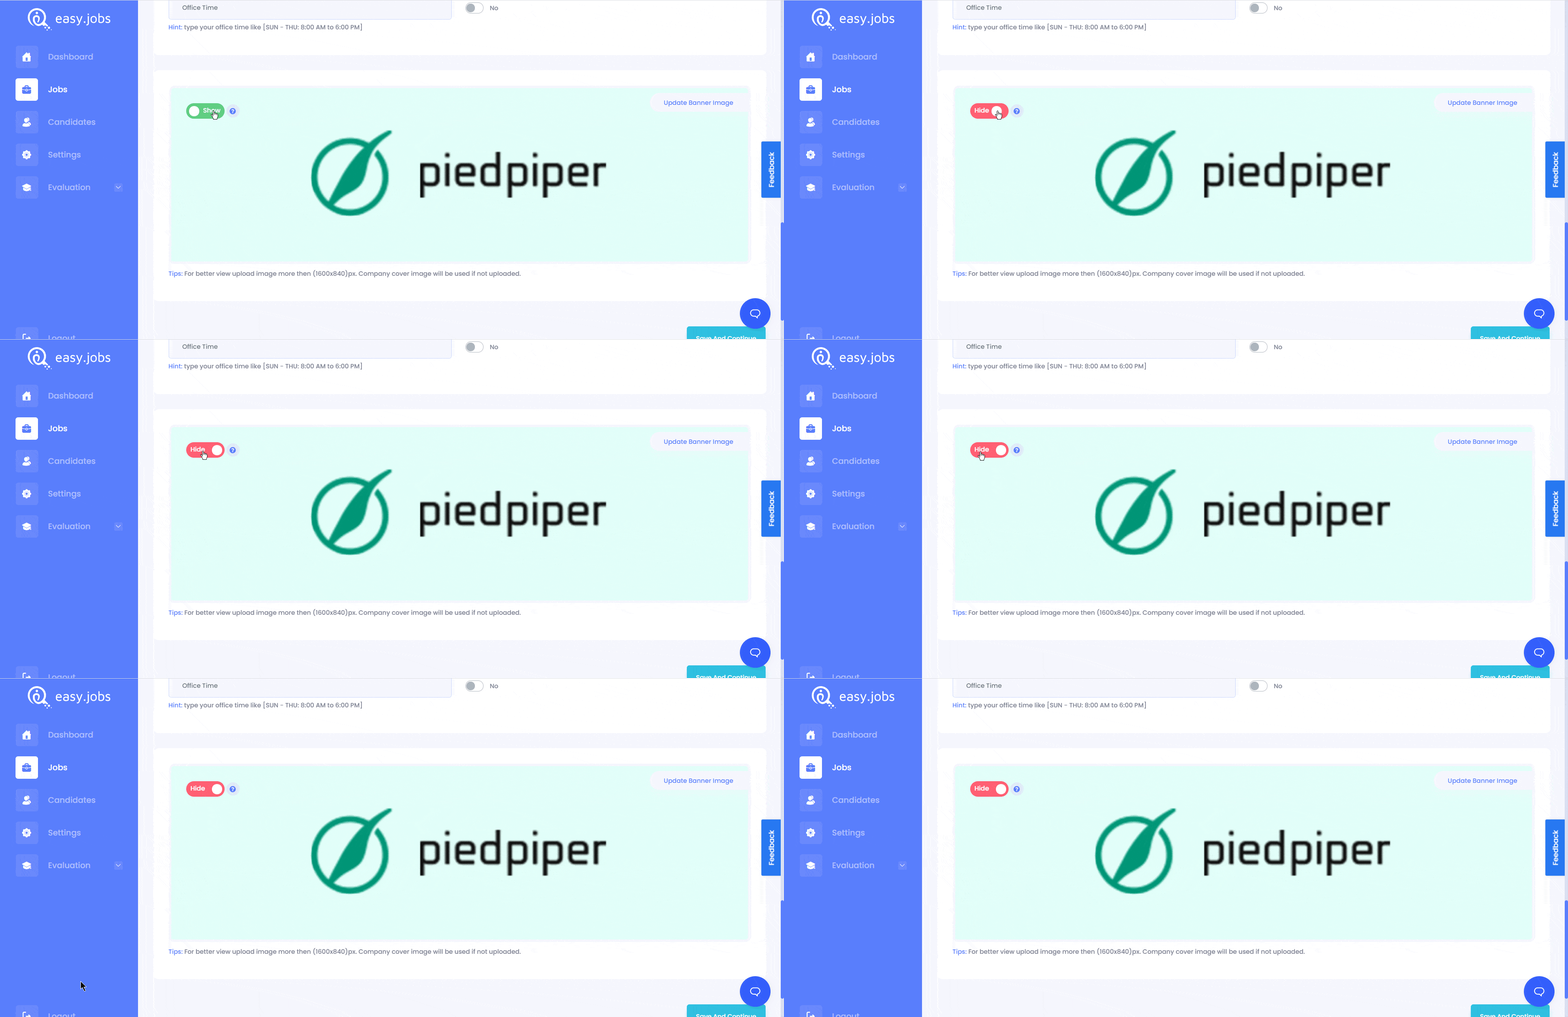
Easy.Jobs provides built-in banners for job posts. If you want to hide them, toggle to turn on hiding mode. You can also change the job post cover banner by clicking on the ‘Update Banner Image’ button. Once you have done filling out all the information, hit the ‘Save and Continue’ button below.
Step 5: It will take you to the ‘Screening Question’ view. In Easy.Jobs, you have to create the screening question first from Evaluation –> Question Set, find out the full instruction here. Then all the screening question sets will be available for you. From there you can add your premade question set or create all questions one by one.
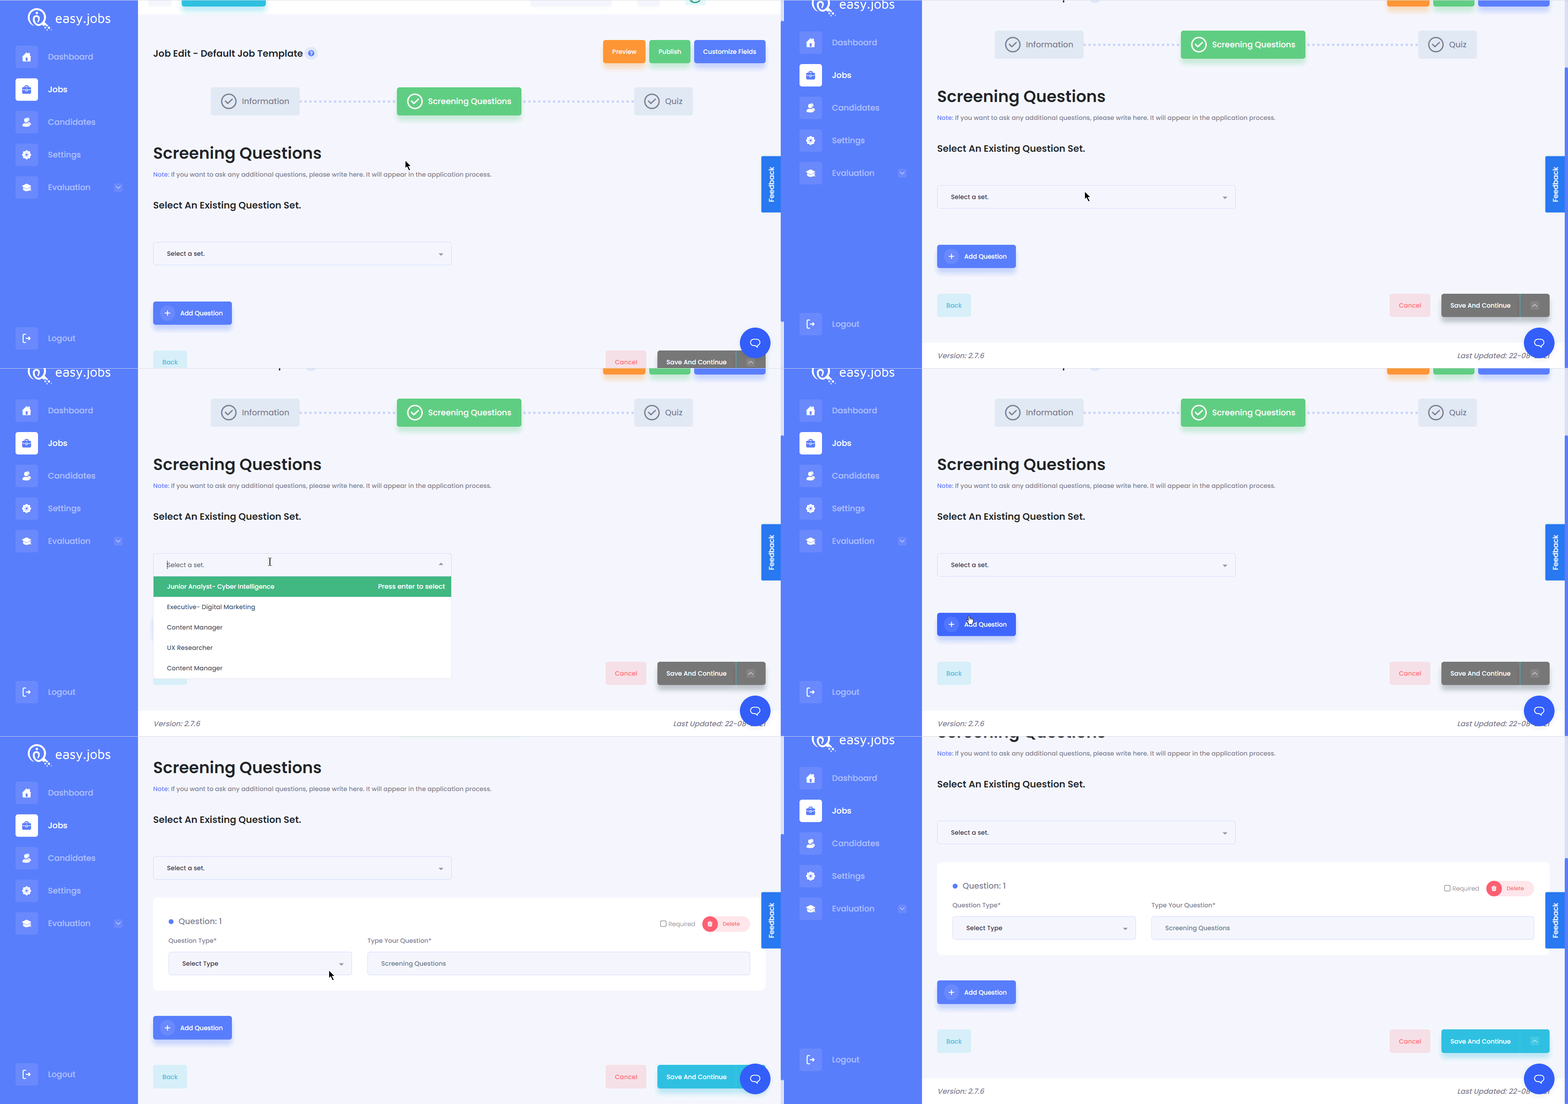
You can also tick on the Required checkbox of the questions, to make answering them mandatory for every candidate. After adding the question set on the job post select Time Duration and Marks and add them on the respected fields. Then hit the ‘Save and Continue’ button.
* If you duplicate the job post from another one, then you can easily remove and update the previously added screening questions. For instructions, follow this documentation.
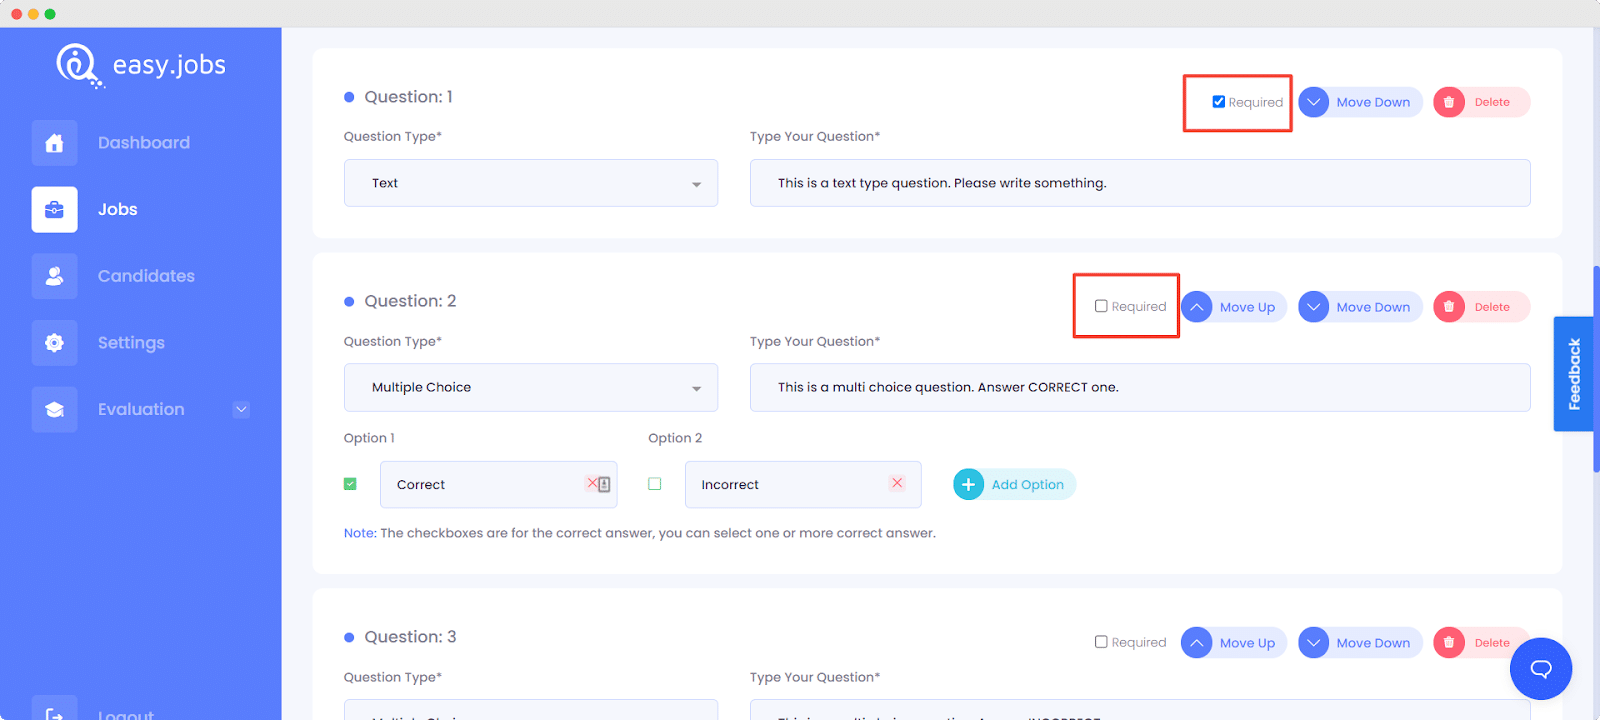
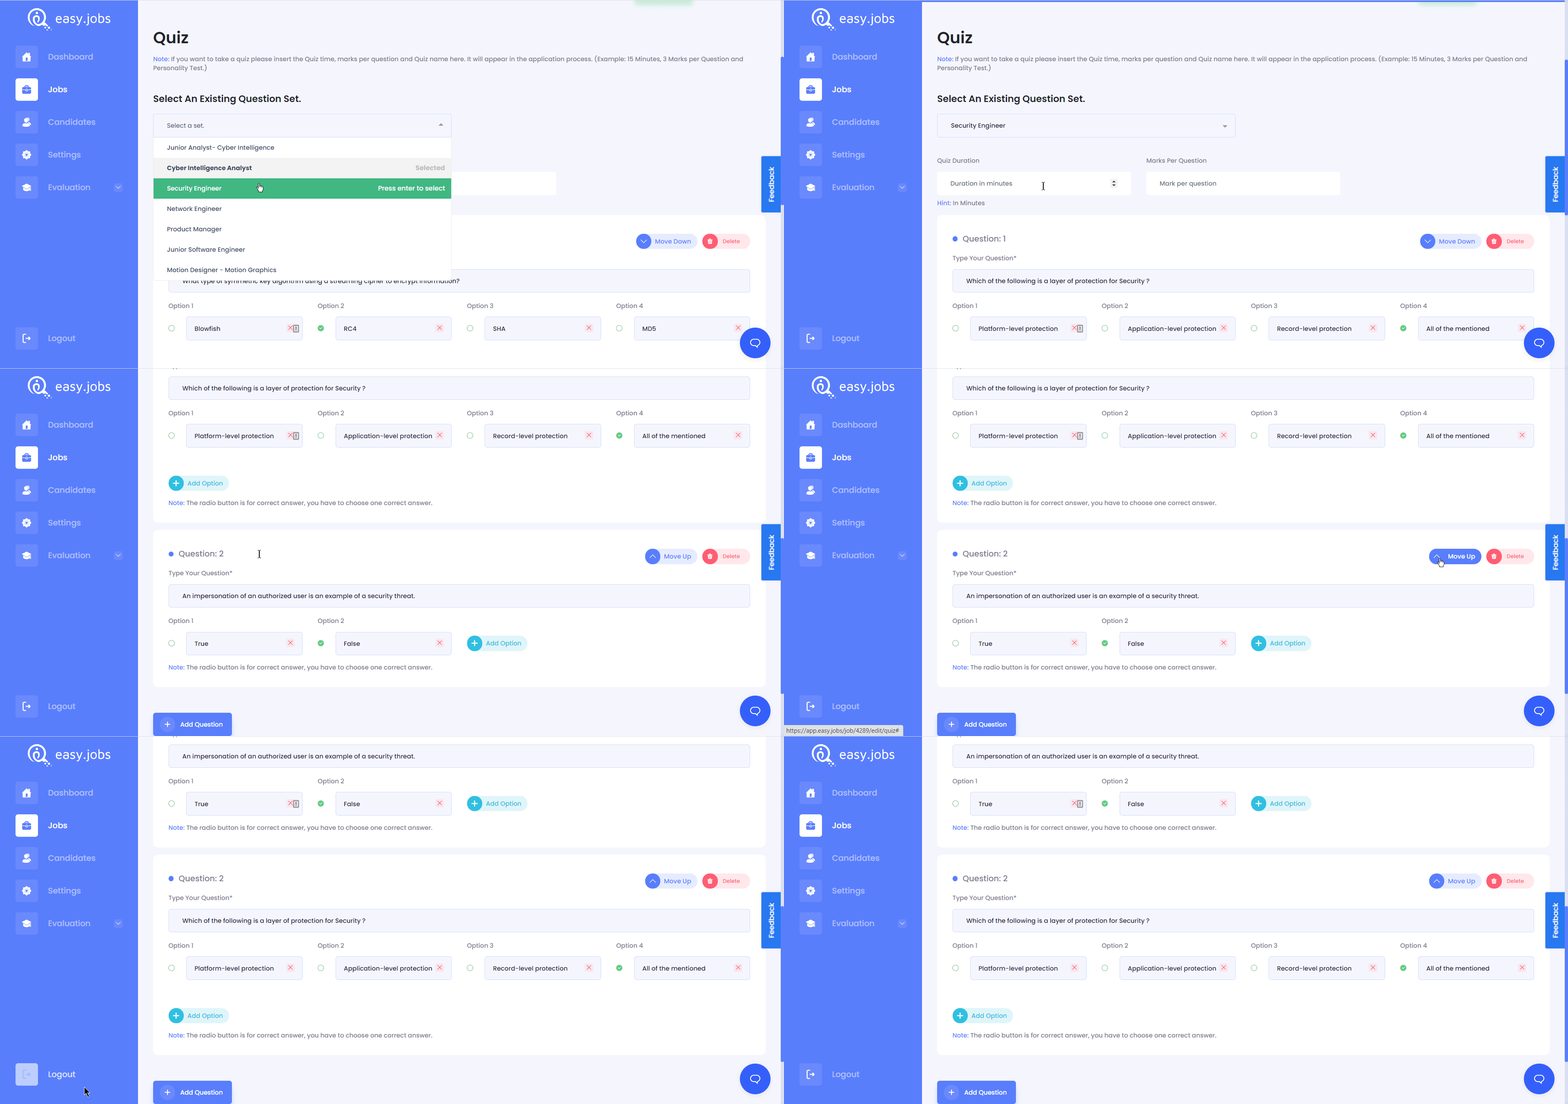
Step 6: It will take you to the ‘Quiz’ view and from here, you can select the pre-made Quiz questions for the new job post or create one by one manually. You can also organize your quiz questions by moving them up or down with the ‘Move Up’ & ‘Move Down’ buttons. After making all the changes, click the ‘Save and Continue’ button.
* If you duplicate the job post from another one, then you can easily remove and update the previously added screening questions. For instructions, follow this documentation.
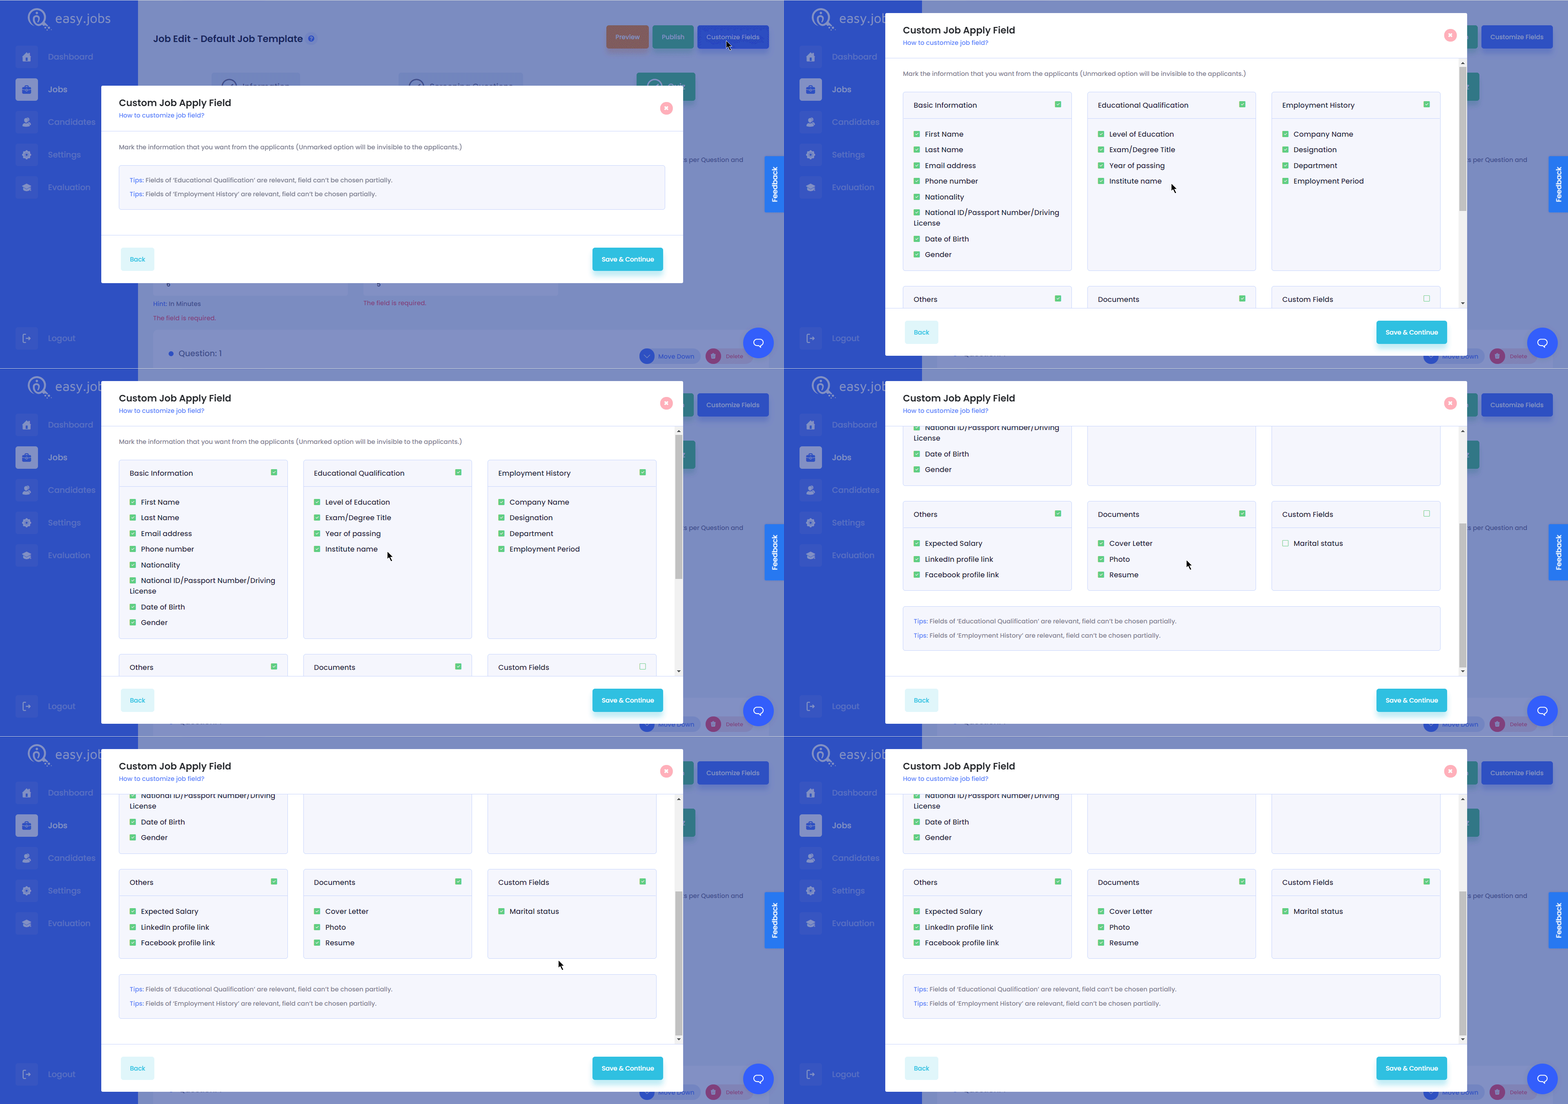
Step 7: Before publishing your newly created job post, set the information requirement you want to collect from candidates. To do this, click on the ‘Customize Fields’ and check on the necessary fields. Then click on the ‘Save & Continue’ button.
Final Outcome #
To check out how your job campaign will look live, click on the ‘Preview’ button. If you are satisfied with the final look, then hit the ‘Save And Publish’ button. Congratulations! You have created a new job post for your company.
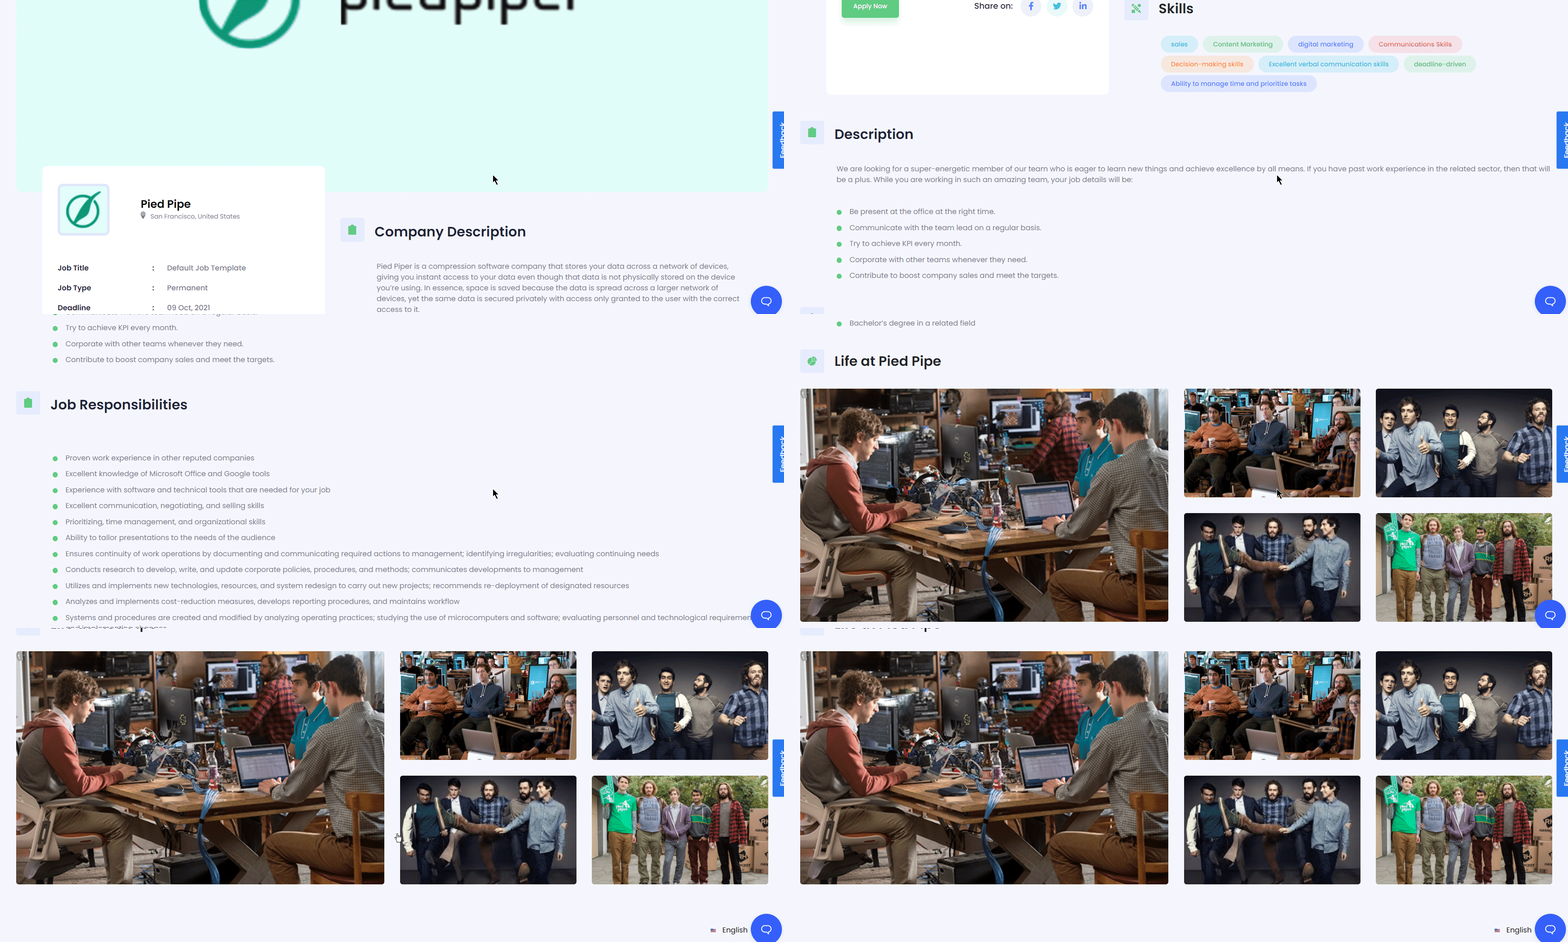
This is how easily you can create a job post using Easy.Jobs hiring solution.
If you need any help, feel free to contact us or join our Facebook community to get connected with other company owners like yourself.


