
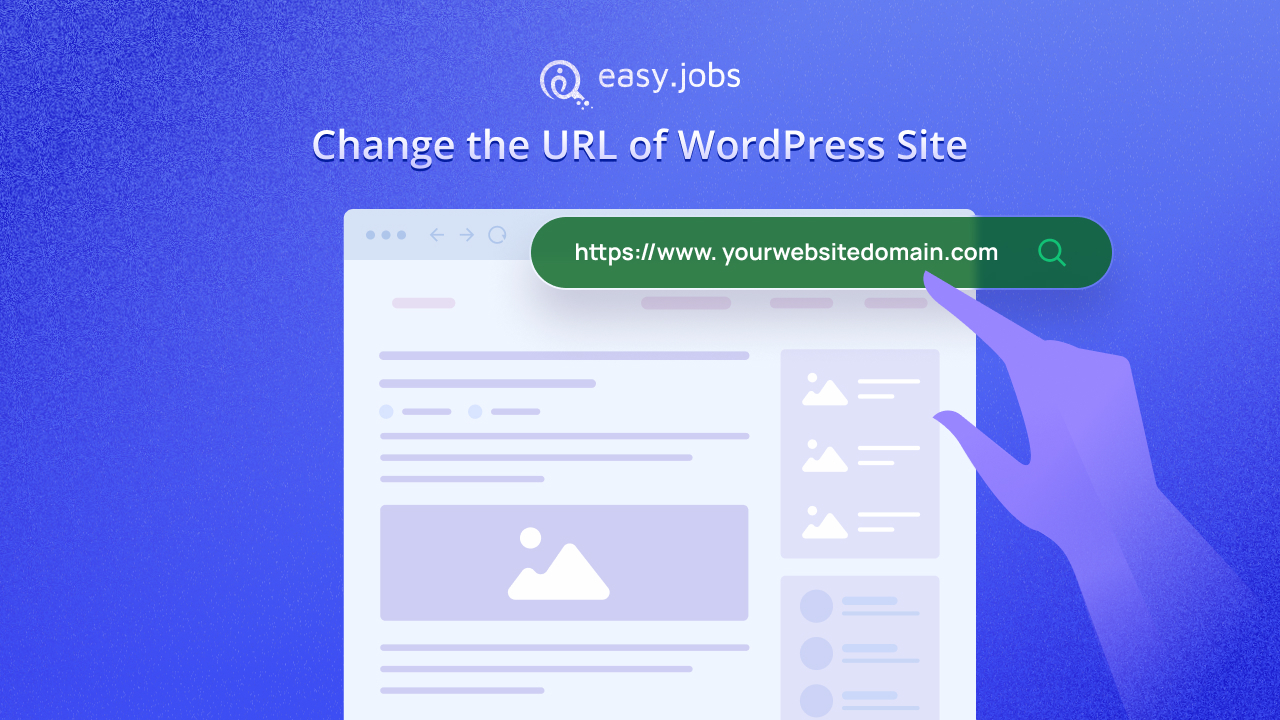
If you are running a WordPress site, there might come a time when you need to change its URL. Maybe you have rebranded, moved to a new domain, or you are simply shifting from a non-secure HTTP to HTTPS. Regardless of the reason, knowing how to change the URL of your WordPress site is important to ensure your visitors can still find your site and perform well in search engines. Today we will talk about how to change the URL of WordPress site safely without messing things up.

WordPress URL Structure: An Overview
Before we dive into the methods, it is important to know how WordPress handles URLs. WordPress uses two types of URLs: the Site URL and the Home URL. Knowing the difference between these will help you make the right changes without accidentally breaking your website.
Site URL: This is the address where your WordPress core files (the backend of your website) are located. It is essentially the location of the WordPress installation.
Home URL: This is the address visitors use to access the main page of your website. In many cases, the Site URL and Home URL are the same, but they can be different if your WordPress installation is in a subdirectory.
For example, if your WordPress is installed in a folder like yoursite.com/wordpress, your Site URL could be yoursite.com/wordpress and your Home URL might be yoursite.com. Understanding this distinction is key when you want to change the URL of your WordPress site.
Let us know some reasons when you might need to change both URLs:
- Moving from a local development environment to a live server.
- Switching from HTTP to HTTPS.
- Changing from one domain to another.
- Moving WordPress to a different directory.
Why Would You Want to Change the URL of WordPress Site?
Changing the URL of your WordPress site can be necessary for several reasons. Understanding these reasons will help you decide the best approach for making the change. Let us explore some common scenarios and their implications:

1. Rebranding Your Website
Sometimes, businesses or bloggers choose to rebrand their website. This could mean changing from a personal blog to a professional business site, or updating the site name to better reflect a new focus or product line. When rebranding, updating the URL is essential to align with the new brand identity.
2. Moving to a New Domain
If you are relocating your site to a new domain, you will need to update the URL to match the new domain name. This often happens when a business outgrows its initial domain or acquires a more suitable domain for its online presence.
3. Fixing Misconfigured URLs
Occasionally, a WordPress site might be set up with incorrect or suboptimal URLs. For instance, you might have started with a temporary URL or used a default setting that does not serve your needs. Changing the URL can correct these misconfigurations.
4. Improving SEO
Sometimes URLs are not optimized for search engines. Changing the URL to be more descriptive or keyword-rich can help improve your site’s SEO. A well-structured URL is easier for search engines to understand and can lead to better rankings.
5. Resolving Security Issues
In some cases, a website might be compromised, and the URL might be part of the problem. Changing the URL and updating security settings can help resolve issues related to malware or unauthorized access.
Precautions Before Changing the URL
Before diving into the changes, it is crucial to back up your site. This way, if anything goes wrong, you can restore your site to its previous state. Additionally, consider informing your users about the upcoming change, as it might temporarily affect their ability to access your site.
Changing URLs can affect your site’s SEO if not handled properly. Be sure to set up redirects links and update any internal links to avoid broken links or 404 errors, which can hurt your search engine rankings and user experience.
5 Methods to Change the URL of WordPress Site
Changing the URL of your WordPress site is often necessary when moving to a new domain, switching from HTTP to HTTPS, or restructuring your site. There are several methods you can use, each with its own level of complexity and purpose. Here are five approaches you can consider to change your WordPress site URL.
1. Updating URL from the WordPress Dashboard
One of the easiest ways to change the WordPress site URL is directly through the WordPress dashboard. In the General Settings section, you will find two fields: WordPress Address (URL) and Site Address (URL). Adjusting these fields allows you to change how your website’s URL appears to users and how WordPress manages internal links. This method works well for simple URL changes, such as moving to a new domain or adding “www” to the domain name.
2. Editing the wp-config.php File
For more direct control over WordPress configuration, editing the wp-config.php file can be a powerful option. By adding or modifying specific lines in this core file, you can hard-code the new WordPress and Site URLs. This method ensures the changes are consistent across the website and prevents accidental modification with the dashboard. It’s a reliable solution when you can not access the WordPress admin area or want to enforce the URL change permanently.
3. Using phpMyAdmin to Change the URL
Another method involves directly editing your WordPress database using phpMyAdmin. In the database, the URL values are stored under the wp_options table, where you can update the siteurl and home fields. This approach is particularly useful if you’re migrating your site to a new server or facing issues where WordPress is inaccessible. However, this method should be used with caution, as working with the database directly carries a higher risk of breaking things if done incorrectly.
4. Changing URL With .htaccess File
If you are familiar with server-side configuration, the .htaccess file can be used to rewrite URLs and manage redirects. This method is especially effective for more advanced scenarios, such as forcing a site-wide redirect from HTTP to HTTPS or switching to a different domain. By writing specific rules into the .htaccess file, you can ensure the URL changes apply across the site seamlessly. This method provides granular control over how requests are handled, but requires a solid understanding of server environments.
5. Leveraging a Plugin for URL Change
For users who prefer a less technical approach, WordPress offers a variety of plugins specifically designed to handle URL changes. Plugins like Better Search Replace or Velvet Blues Update URLs can automate the process of updating your site’s URLs in the database, making the task more user-friendly. These plugins ensure that all instances of the old URL across posts, pages, and media files are replaced, saving you time and reducing the chance of missing any links. This is an excellent option for non-developers who want to change URLs without diving into code or databases.
Each of these methods provides flexibility depending on the complexity of your WordPress site and your comfort level with editing files or working with databases. Whether you opt for the simple dashboard update or the more advanced methods like editing .htaccess or using phpMyAdmin, changing your WordPress URL is achievable with the right approach.
Important Things to Do After Changing the URL
Changing the URL of your WordPress site is a crucial step, but the process doesn’t end there. After updating your URL, it is important to follow a few additional steps to ensure everything runs smoothly. These tasks are essential for maintaining your site’s performance, SEO ranking, and user experience.
1. Set Up 301 Redirects
When changing URLs, whether you have moved to a new domain or switched to HTTPS, you need to set up 301 redirects from the old URL to the new one. A 301 redirect tells search engines and browsers that the old URL has permanently moved to the new URL. This ensures that visitors who use the old URL are automatically sent to the new URL without encountering broken links or errors.
2. Update Internal Links
After changing the URL, it is important to update all internal links on your site. While tools like Velvet Blues Update URLs can help with this, you may still want to manually check to ensure that no outdated links or media files are pointing to the old URL.
3. Test Your Website Thoroughly
Testing is a crucial step after any major change to your website. You wi’ll want to ensure that all pages load correctly and that nothing is broken after updating the URL. Here is what to look out for:
- Broken links: Use a plugin like Broken Link Checker to find any links that may have been missed during the URL update.
- Page load times: Make sure your site still loads quickly and efficiently, especially if you’ve switched from HTTP to HTTPS.
- Browser testing: Test your site on different browsers and devices to ensure consistency across platforms.
4. Update Google Search Console and Analytics
To maintain your site’s SEO rankings, it is essential to inform Google about your new URL. This ensures that your search engine rankings and indexed pages are updated correctly. After changing the URL there is the things below what you need to do:
- Google Search Console: If you have switched domains or moved from HTTP to HTTPS, submit the new URL to Google Search Console. This involves adding the new property (your new URL) and submitting a Change of Address request.
- Google Analytics: Update your Google Analytics property settings to reflect the new URL, so you can continue tracking your site’s performance.
5. Resubmit Your Sitemap
After changing the URL, you will need to resubmit your sitemap to search engines like Google and Bing. This helps them crawl and index your updated URLs faster. You can generate a new sitemap using an SEO plugin like Rank Math.
6. Clear Your Website Cache
If your site uses a caching plugin like W3 Total Cache or WP Super Cache, clear the cache to ensure that the old URL isn’t being served to visitors. This step is especially important if your URL change involves switching from HTTP to HTTPS, as cached files may still load the non-secure version of the site.
7. Test for SSL
If your URL change involves moving from HTTP to HTTPS, make sure your SSL certificate is properly installed and working. You can use tools like SSL Labs to check for any SSL-related issues and ensure that all resources (like images, scripts, etc.) are loading securely.
BetterLinks: Your All-In-One Link Management Solution For WordPress
BetterLinks is an amazing plugin that allows you to simply redirect URLs, employ link shortening, and assess the performance of each link. You can quickly redirect 301, 302, and 307 pages with this plugin. You can set a redirect type for each link without using any code. BetterLinks allows you to generate new links for 301, 302, and 301 redirects in just a few steps.
Effortlessly Change The URL Of The WordPress Site
Changing the URL of your WordPress site can be done for various reasons. The key is to choose the method that best suits your technical skills and the specifics of your situation. After completing the URL change, it is crucial to handle post-change tasks as well. These steps ensure that your site maintains its SEO performance, visitors are not met with broken links, and your content is accessible under the new URL.
Was this blog a good read? If you want more blogs like this, subscribe to our blogs and join our Facebook community to connect with fellow enthusiasts.